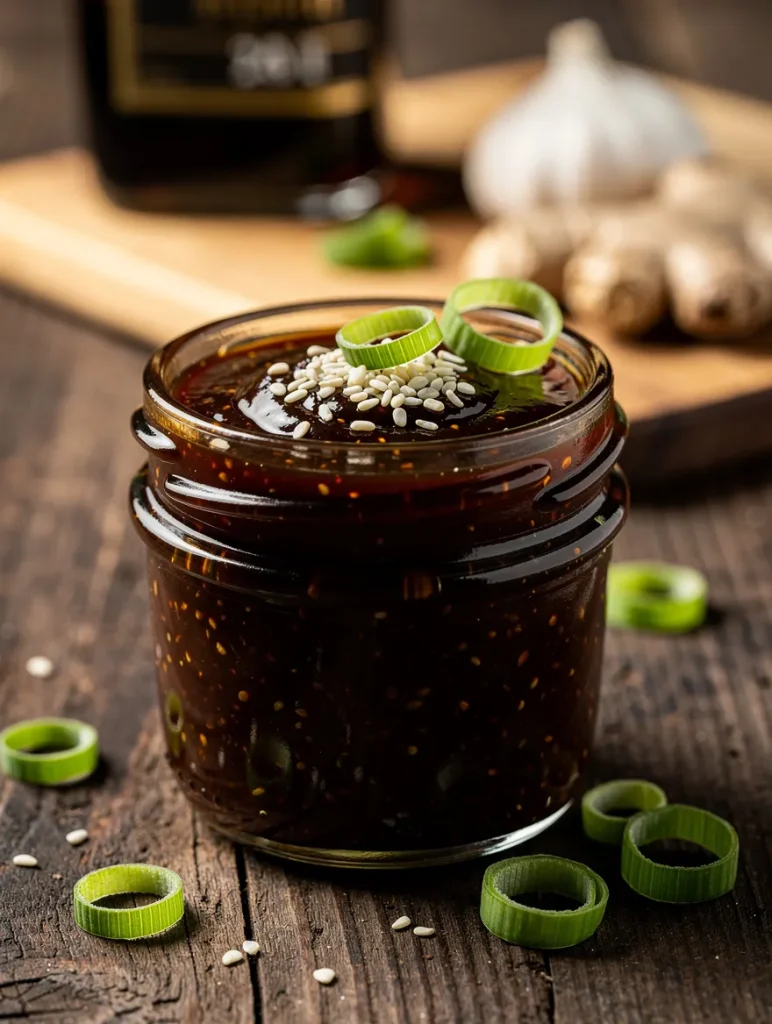
There’s something comforting about a glossy, caramelized sauce coating a piece of chicken or a bowl of rice — it hits nostalgia and dinner satisfaction at the same time. If you’ve ever bought a bottle that tasted too salty, too sweet, or just plain boring, you’re in the right place. This homemade teriyaki sauce is the kind you’ll want to keep in the fridge and drizzle on everything.
Use a couple of tablespoons of the sauce to finish a Teriyaki Chicken Rice Bowl for an instant weeknight favorite.
Why you’ll love this sauce
It’s fast (you can make it while your rice is finishing), customizable (scale sweetness, swap sweeteners), and way more flavorful than store-bought. You control the texture too — thin for a glaze or thicker to cling to skewers. Plus, once you nail a basic batch, you can riff on it for salmon, stir-fries, bowls, or a quick marinade.
A jar of this sauce makes weeknights feel like takeout; try it with Honey Garlic Chicken Bites for an easy upgrade.
Ingredients
Below are the amounts for about 1 cup of finished sauce — enough for 4-6 servings depending on how saucy you like your food.
- 1/2 cup low-sodium soy sauce
- 1/4 cup brown sugar, packed (or coconut sugar)
- 2 tablespoons honey (or maple syrup)
- 2 tablespoons rice vinegar
- 1 tablespoon toasted sesame oil
- 2 cloves garlic, minced
- 1 teaspoon freshly grated ginger
- 1/3 cup water
- 1 tablespoon cornstarch mixed with 2 tablespoons cold water (slurry)
- Optional: pinch of red pepper flakes, 1 tablespoon sesame seeds, sliced green onions for garnish
How to Make Homemade Teriyaki Sauce
Time needed: 12 minutes
This is seriously simple: combine, simmer, thicken, and you’re done. Read through the tips below if you want variations or to make it gluten-free.
- Combine the base
In a small saucepan, whisk together soy sauce, brown sugar, honey, rice vinegar, sesame oil, garlic, ginger, and water.
- Simmer gently
Bring the mixture to a low simmer over medium-low heat, stirring so the sugar dissolves. Let it bubble very gently for 3–4 minutes to let the flavors meld.
- Thicken
Stir the cornstarch slurry, then slowly pour it into the simmering sauce while whisking. Keep simmering for another 1–2 minutes until the sauce thickens and becomes glossy. If it gets too thick, add a tablespoon of water until you reach the desired consistency.
- Finish and cool
Remove from heat. Taste and adjust — add a little more honey for sweetness, a splash of rice vinegar for brightness, or a pinch of chili flakes for heat. Let the sauce cool; it will thicken a bit more as it cools.
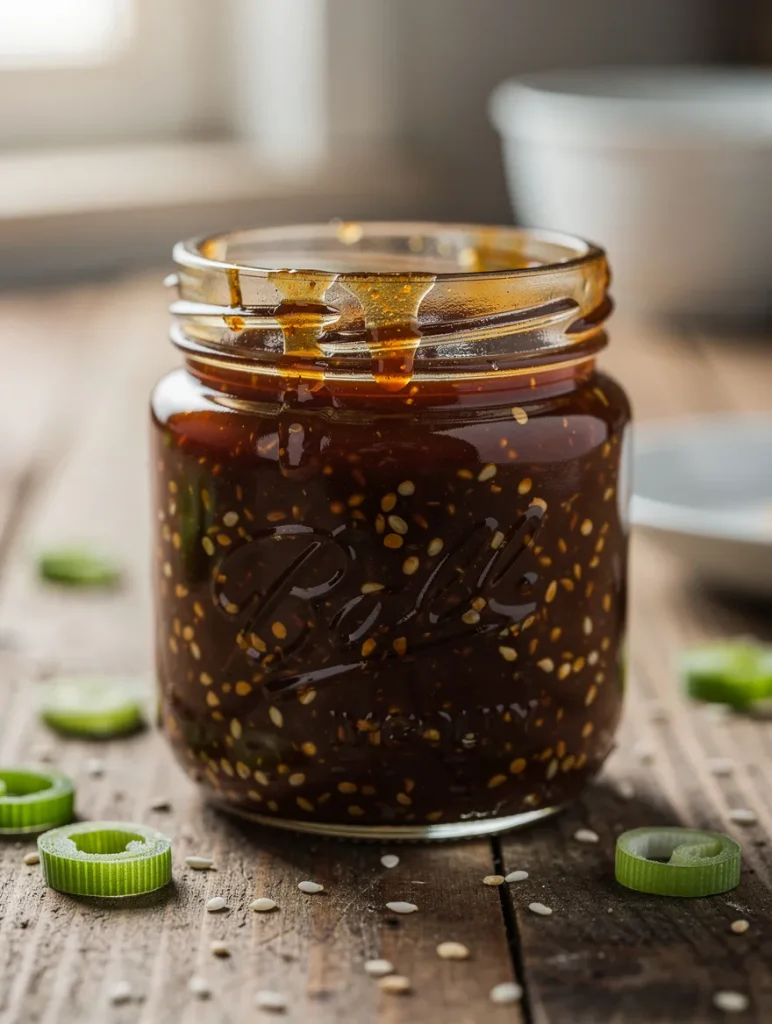
- Store
Transfer to a jar and refrigerate. It will keep for up to 2 weeks.
Cooking tips
- If you need gluten-free, swap tamari for soy sauce.
- For a silkier finish, strain the sauce after cooling to remove bits of garlic and ginger.
- If you prefer a darker, more caramelized flavor, add 1 teaspoon of dark brown sugar or a splash of molasses.
Uses and Serving Ideas
Drizzle it over grilled chicken, toss it with stir-fried vegetables, or brush it on salmon before roasting. It’s also fantastic as a dipping sauce for dumplings or a sticky glaze for skewers. Elevate a simple rice bowl by mixing a couple of tablespoons into steamed rice and topping with roasted veggies and protein.
If you’re planning to use this sauce for fish, the Honey Teriyaki Salmon recipe is a perfect match.
FAQs
Stored in a sealed jar in the refrigerator, it keeps for up to two weeks. If it smells off or mold appears, discard it. You can also freeze portions in an ice cube tray for up to 3 months.
Yes. For a thinner sauce, skip the cornstarch. For an alternative thickener, use arrowroot (same ratio) or reduce the sauce by simmering longer until it thickens naturally.
Absolutely. Use it as a quick 30-minute marinade for chicken or a 15–20 minute glaze for salmon. If you marinate longer, reduce the sugar slightly so the surface doesn’t burn when grilling.
Conclusion
Making homemade teriyaki sauce is one of those tiny kitchen wins that pays off every week. It’s fast, adaptable, and far more delicious than anything you’ll find in a bottle. Keep a jar in your fridge, and you’ll suddenly find weeknight dinners are more interesting — trust me, a dish drizzled with this glossy sauce feels a little like a celebration. Once you’ve made the sauce, a quick go-to is to toss it with grains and roasted veggies in the Honey Garlic Chicken Bowls for an easy dinner.
Ready to try it on salmon or a rice bowl tonight? You’ll be surprised how one simple sauce can lift a meal. Happy cooking — and taste as you go!

Homemade Teriyaki Sauce
Ingredients
Sauce
- ½ cup low-sodium soy sauce
- ¼ cup brown sugar packed (or coconut sugar)
- 2 tbsp honey or maple syrup
- 2 tbsp rice vinegar
- 1 tbsp toasted sesame oil
- 2 cloves garlic minced
- 1 tsp freshly grated ginger
- ⅓ cup water
- 1 tbsp cornstarch mixed with 2 tablespoons cold water slurry
Optional Garnishes & Additions
Instructions
- In a small saucepan, whisk together soy sauce, brown sugar, honey, rice vinegar, sesame oil, minced garlic, grated ginger, and water.
- Bring to a gentle simmer over medium-low heat, stirring until the sugar dissolves. Let it simmer very gently for 3–4 minutes to develop flavor.
- Whisk the cornstarch slurry, then slowly pour into the simmering sauce while whisking. Continue to simmer for 1–2 minutes until the sauce becomes glossy and thick enough to coat the back of a spoon.
- Taste and adjust sweetness, acidity, or heat. Remove from heat and let cool; the sauce will thicken slightly as it cools.
- Transfer to a jar and refrigerate for up to 2 weeks. Freeze in portions for longer storage.
Notes
- Substitute tamari for soy sauce to make it gluten-free.
- Use arrowroot instead of cornstarch for a clearer finish (same ratio).
- To deepen flavor, add a teaspoon of dark brown sugar or a touch of molasses.
- If sauce becomes too thick after refrigeration, whisk in a teaspoon of warm water to loosen.